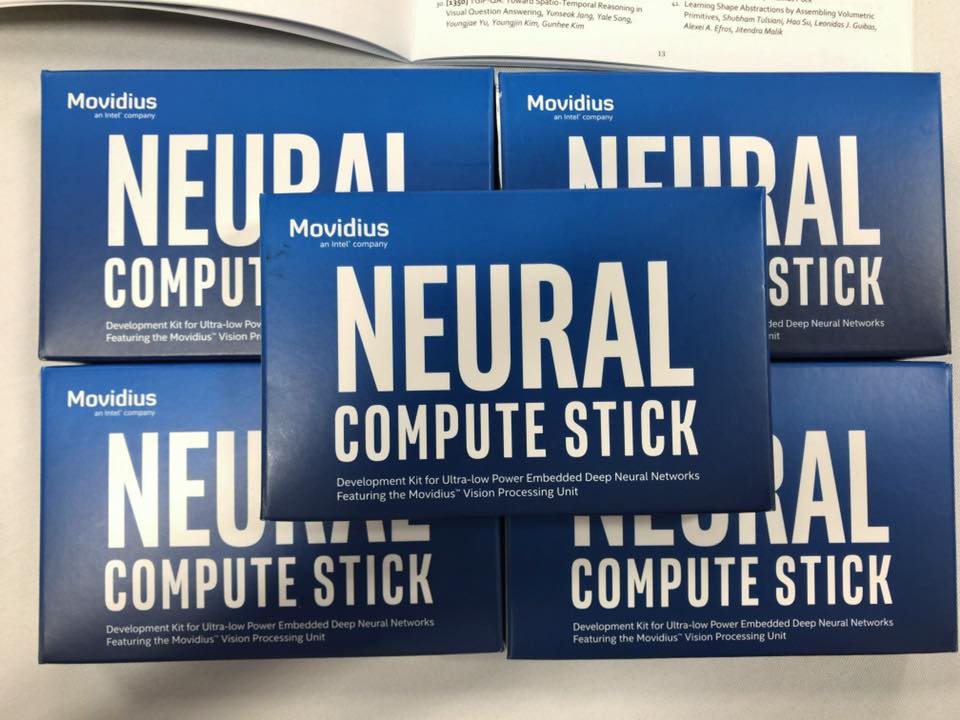
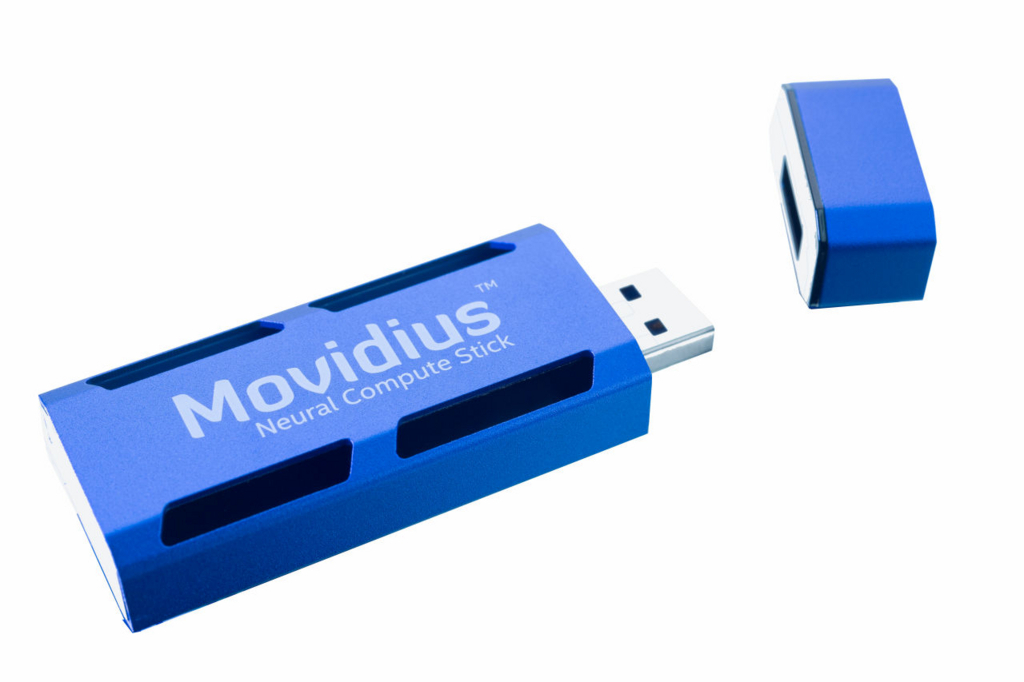
7月20日、Intel (Movidius) がUSB接続タイプのスティック型ディープニューラルネットワーク処理用アクセラレータ「Movidius Neural Compute Stick」を発表しました。
- Intelが激安1万円以下のUSB型Deep Learning用端末「Movidius Neural Compute Stick」を発売 : Gigazine
- Intel Democratizes Deep Learning Application Development with Launch of Movidius Neural Compute Stick | Intel Newsroom
- プロダクトページ
NCSは、Deep Learningに特化した専用チップ「Myriad 2」が搭載された、外付けの演算装置です。USBポートに挿すだけでDeep Learningの推論処理を実行させることができるため、ラズパイやノートPCのようなデバイスでも比較的高速にDeep Learningアプリケーションを実行することができるようになります。
CVPR2017で先行発売されたMovidius Neural Compute Stick(以下、NCS)を入手しましたので使ってみました。CVPRでも数百個しか販売されてないとの事なので貴重です。

検証環境
- Ubuntu 16.04
- Linux kernel: 4.4.0-87-generic
- Intel Core i7 3632QM
Getting started
NCSのGetting Startedに従って動かしてみます。Getting Startedのページはよくわからないので、詳細なAPIドキュメントとGetting StartedのPDFをここから入手します。
環境構築
最新版(2017/07/26時点: 1.07.07)のMovidius Neural Compute (MvNC) SDKを以下のコマンドに従ってダウンロード・展開します。参考
$ sudo apt-get update
$ sudo apt-get upgrade

$ mkdir ~/ncsdk
$ cd ~/ncsdk
$ wget https://ncs-forum-uploads.s3.amazonaws.com/ncsdk/MvNC_SDK_01_07_07/MvNC_SDK_1.07.07.tgz
$ tar -xvf MvNC_SDK_1.07.07.tgz
x MvNC_Toolkit-1.07.06.tgz
x MvNC_API-1.07.07.tgz
Movidius Neural Compute Toolkitをインストールします。
Movidius Neural Compute ToolkitはDeep Learningのチューニング・検証・プロファイリングをするためのツールを提供しています。コンパイルは現在時点ではcaffeのmodelをNCSでロードして実行できる形式にする機能を持っています。 インストールに少し時間がかかる(15分くらい)ので気長に待ちます。
$  tar -xvf MvNC_Toolkit-1.07.06.tgz
$ cd bin
$ ./setup.sh
サンプルで使うcaffeモデルをダウンロードします。少し時間がかかるので気長に待ちます。
$ cd data
$ ./dlnets.sh
Movidius NC APIをインストールします。
Movidius NC APIはNCS上での推論処理をプログラムから実行するためのAPIを提供します。少し時間が(ry
$ ~/ncsdk
$ tar -xvf MvNC_API-1.07.07.tgz
$ cd ncapi
$ ./setup.sh
ここまででMovidius Neural Compute ToolkitとMovidius NC APIのインストールが完了しました。
サンプルを動かしてみる
ここからは実際にNCSを使ってサンプルを動かして行きます。ホストマシンのUSBポートにNCSを挿してください。lsusbを打つと新しいデバイスが認識されている事がわかります。
Python APIを使ったサンプル
PythonからNCSをどう使うかをサンプルを使って見てみたいと思います。classification_example.pyというpythonのサンプルではAlexnetを使って指定された画像の推論処理をしています。実行すると以下のようなログを出しました。
$ cd ~/ncsdk/ncapi/py_examples
$ python3 classification_example.py 2
Device 0 Address: 3 - VID/PID 03e7:2150
Starting wait for connect with 2000ms timeout
Found Address: 3 - VID/PID 03e7:2150
Found EP 0x81 : max packet size is 512 bytes
Found EP 0x01 : max packet size is 512 bytes
Found and opened device
Performing bulk write of 825136 bytes...
Successfully sent 825136 bytes of data in 54.576918 ms (14.418385 MB/s)
Boot successful, device address 3
Found Address: 3 - VID/PID 040e:f63b
done
Booted 3 -> VSC

------- predictions --------
prediction 1 is n02123159 tiger cat
prediction 2 is n02123045 tabby, tabby cat
prediction 3 is n02119022 red fox, Vulpes vulpes
prediction 4 is n02085620 Chihuahua
prediction 5 is n02326432 hare
以下の流れで、pythonからNCS使う事ができます。
- NCSのデバイスをプログラム上で取得する
- NNのモデルをデバイスに転送する
- 推論したい画像をデバイスに転送する
- 推論結果をデバイスから取得する
classification_example.pyの中身は以下のようになっています。
from mvnc import mvncapi as mvnc
import numpy
import cv2
import time
import csv
import os
import sys

if len(sys.argv) != 2:
    print ("Usage: enter 1 for Googlenet, 2 for Alexnet, 3 for Squeezenet")
    sys.exit()
if sys.argv[1]=='1':
    network="googlenet"
elif sys.argv[1]=='2':
    network='alexnet'
elif sys.argv[1]=='3':
    network='squeezenet'
else:
    print ("Usage: enter 1 for Googlenet, 2 for Alexnet, 3 for Squeezenet")
    sys.exit()

# get labels
labels_file='../tools/synset_words.txt'
labels=numpy.loadtxt(labels_file,str,delimiter='\t')
# configuration NCS
mvnc.SetGlobalOption(mvnc.GlobalOption.LOGLEVEL, 2)
devices = mvnc.EnumerateDevices()
if len(devices) == 0:
    print('No devices found')
    quit()
device = mvnc.Device(devices[0])
device.OpenDevice()
opt = device.GetDeviceOption(mvnc.DeviceOption.OPTIMISATIONLIST)

if network == "squeezenet":
    network_blob='../networks/SqueezeNet/graph'
    dim=(227,227)
elif network=="googlenet":
    network_blob='../networks/GoogLeNet/graph'
    dim=(224,224)
elif network=='alexnet':
    network_blob='../networks/AlexNet/graph'
    dim=(227,227)
#Load blob
with open(network_blob, mode='rb') as f:
    blob = f.read()
graph = device.AllocateGraph(blob)
graph.SetGraphOption(mvnc.GraphOption.ITERATIONS, 1)
iterations = graph.GetGraphOption(mvnc.GraphOption.ITERATIONS)

ilsvrc_mean = numpy.load('../mean/ilsvrc12/ilsvrc_2012_mean.npy').mean(1).mean(1) #loading the mean file
img = cv2.imread('../images/cat.jpg')
img=cv2.resize(img,dim)
img = img.astype(numpy.float32)
img[:,:,0] = (img[:,:,0] - ilsvrc_mean[0])
img[:,:,1] = (img[:,:,1] - ilsvrc_mean[1])
img[:,:,2] = (img[:,:,2] - ilsvrc_mean[2])
graph.LoadTensor(img.astype(numpy.float16), 'user object')
output, userobj = graph.GetResult()
order = output.argsort()[::-1][:6]
print('\n------- predictions --------')
for i in range(1,6):
    print ('prediction ' + str(i) + ' is ' + labels[order[i]])
graph.DeallocateGraph()
device.CloseDevice()
ちなみに
NCSをNCSで推論させるとハーモニカになります。

$ ./ncs-fullcheck -c1 ../networks/AlexNet ~/Desktop/b03.jpg
OpenDevice 1 succeeded
Graph allocated
harmonica, mouth organ, harp, mouth harp (12.98%) rubber eraser, rubber, pencil eraser (12.19%) lighter, light, igniter, ignitor (9.95%) whistle (8.45%) sunscreen, sunblock, sun blocker (5.20%)
Inference time: 283.648071 ms, total time 288.491546 ms
Deallocate graph, rc=0
Device closed, rc=0
ラズベリーパイでNCSを使う
Raspberrypi3でMovidius Neural Compute Stickのサンプルまでを動かしてみた - Qiita
RaspberryPI3でMovidius NCSのサンプルを少し真面目に動かしてみた - Qiita
こちらにABEJAのリサーチャーがNCSをラズベリーパイで動かしてみたポストがあるのでご参照ください。
まとめ
今回はあまり綿密な検証はしませんでしたが、NCSを使うことでGPUを搭載していないマシンでも比較的簡単にDeep Learningを使えることがわかりました。処理性能の高くないデバイスでもNCSを挿すだけでエッジサイドDeep Learningを実行できるというのは夢がありますね。
We are hiring!
ABEJAが発信する最新テクノロジーに興味がある方は、是非ともブログの読者に!
ABEJAという会社に興味が湧いてきた方はWantedlyで会社、事業、人の情報を発信しているので、是非ともフォローを!! www.wantedly.com
ABEJAの中の人と話ししたい!オフィス見学してみたいも随時受け付けておりますので、気軽にポチッとどうぞ↓↓
